


CREECH IMPORT REPAIR • RALEIGH, NORTH CAROLINA
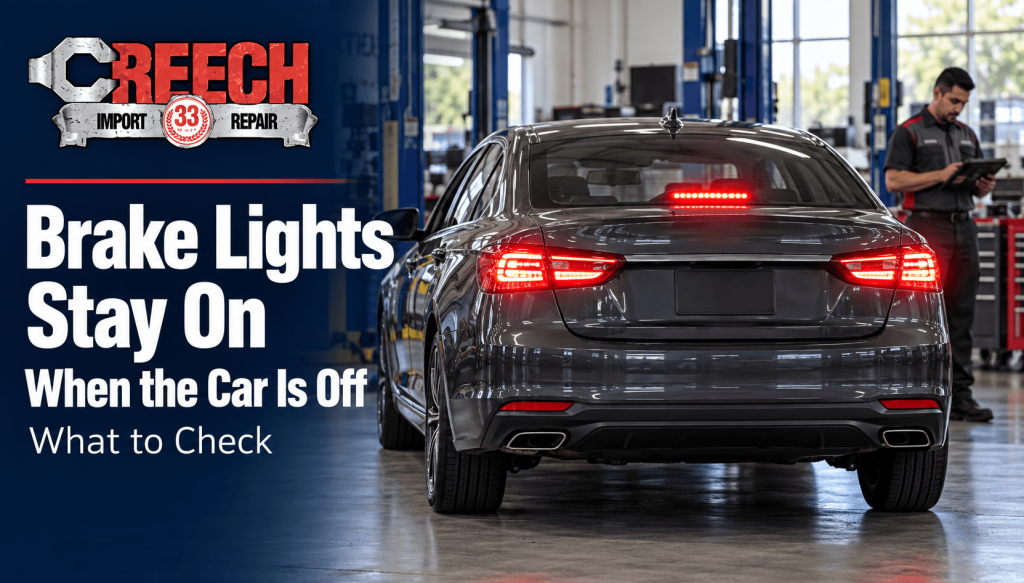
When brake lights stay on after the car is parked and switched off, the lamps may still be receiving a brake signal or unwanted electrical power. A pedal-switch issue, missing pedal stop, wiring problem, or control-system fault can be involved. First confirm which rear lights are illuminated; tail lamps and brake lamps do not have the same function.
Persistent illumination can discharge the battery and prevent following drivers from recognizing a new braking event. Turning the ignition off is not a universal cure because many brake-light circuits can operate with the key removed. The repair should restore correct lamp response rather than simply make the rear of the vehicle dark.
Brake lights stay on: quick answer
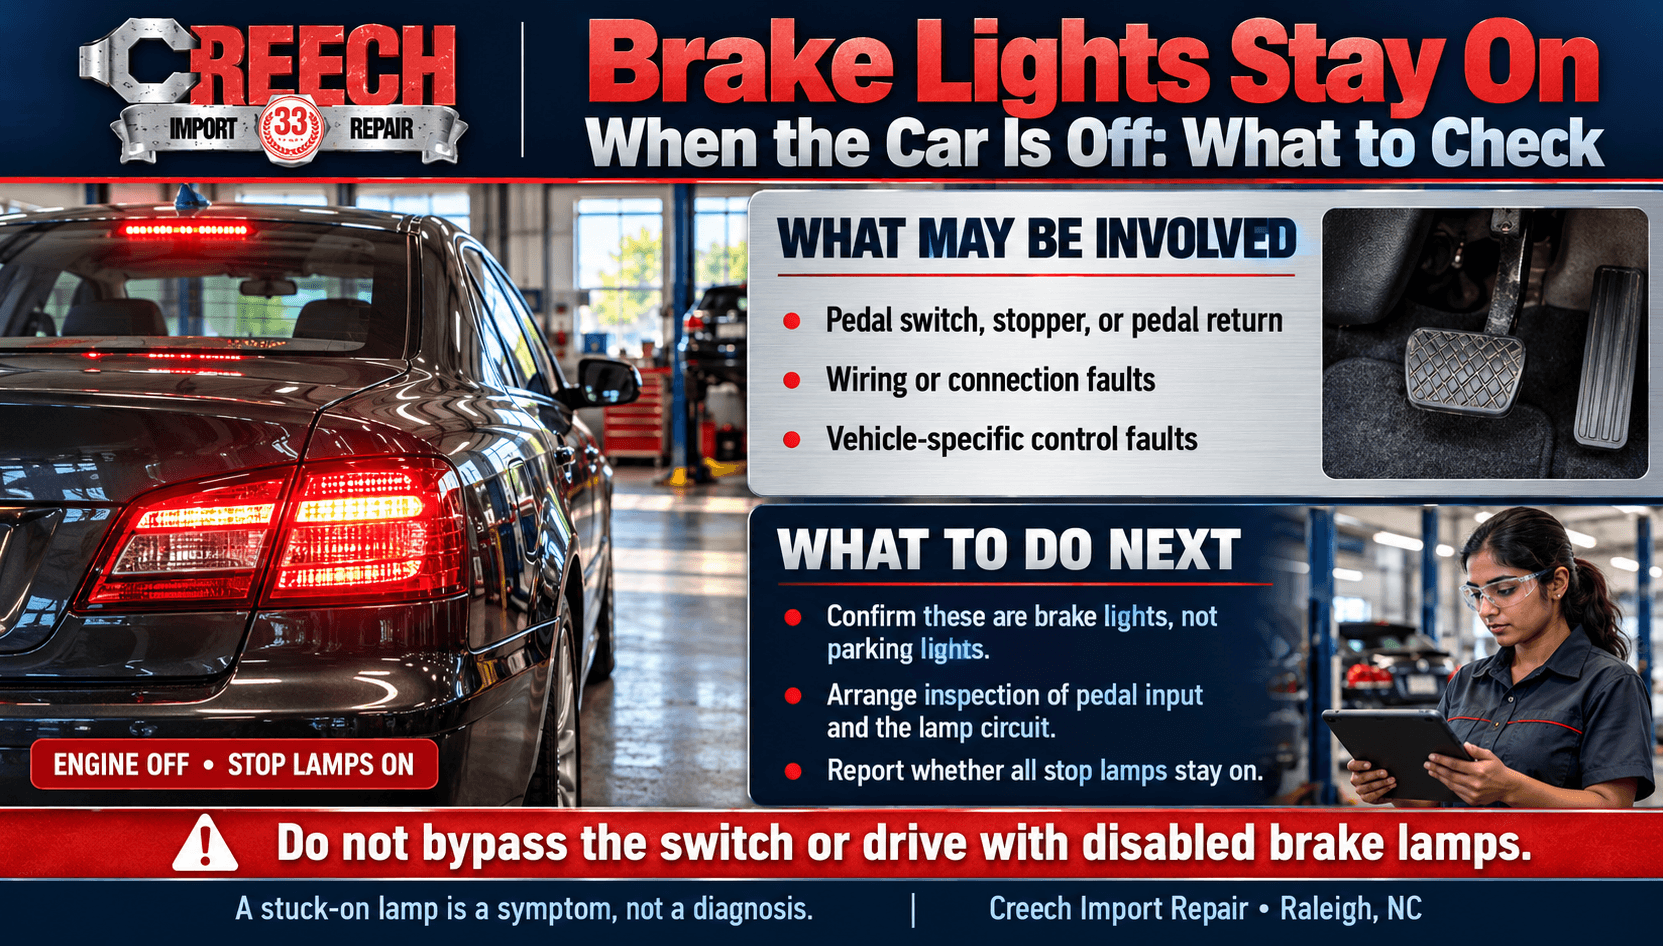
Brake lights that stay on can result from a misadjusted or faulty brake-pedal switch, a damaged pedal stopper, a pedal-return problem, wiring, or vehicle control logic. Confirm whether the bright stop lamps and center brake lamp are involved. Do not drive with disabled brake lamps or bypass the switch. A shop should verify the input, circuit, and pedal operation before choosing a repair.
Confirm brake lamps versus other rear lights
A vehicle can illuminate rear lamps for several reasons. Parking lights, headlight follow-me-home features, remote unlocking, and certain retained lighting functions may produce rear illumination after shutdown. Some vehicles use the same lamp assembly for different brightness levels, while others have separate light sources. Identify what is actually on before concluding the brake switch is stuck.
The high-mounted center stop lamp is a useful observation because it normally serves the braking signal rather than the tail-light function. Its behavior alongside the left and right stop lamps can help describe the complaint. It is not a complete diagnosis: wiring designs, aftermarket equipment, lamp faults, and control systems can still complicate the pattern.
With the vehicle secured and a helper standing safely behind it, observe whether pressing and releasing the brake pedal changes the lamps. Keep the vehicle in Park with the parking brake applied as appropriate. Do not perform this check where someone could be struck if the car moves. Record whether all brake lamps remain bright, only one lamp stays lit, or the brightness changes normally.
How the pedal switch and stopper interact
Many vehicles use a switch near the brake pedal to signal pedal position. In some designs, a pedal-mounted stopper or contact pad meets the switch as the pedal returns. If that pad breaks or disappears, the switch may no longer receive the intended released-pedal contact. A small piece of plastic found near the pedals can therefore be meaningful evidence. Hyundai’s model-specific campaign bulletin documents one example of a stopper failure causing continuous stop-lamp illumination; it does not establish the cause on every vehicle.
That arrangement is not universal. Some switches have multiple circuits, self-adjusting installation requirements, or a relationship with stability control and transmission interlocks. An apparently simple threaded adjustment can create incorrect timing or conflicting signals if performed improperly. A replacement should match the vehicle and be installed using its service procedure rather than a generic distance measurement. HELLA’s information for an applicable self-adjusting switch illustrates why installation requirements matter.
Do not tape a switch closed, glue an improvised object to the pedal, or wedge the pedal into a different position as a driving repair. The brake system and lamp signal must work through the full pedal travel. A physical workaround can interfere with braking or hide another fault. Preserve any fallen part and have the pedal assembly inspected.
Compare the symptom patterns
Use these clues to describe the complaint, not to select a replacement part. The patterns can overlap, and vehicle-specific inspection is needed to establish the cause.
| Observed pattern | What deserves checking | What it does not prove |
|---|---|---|
| All bright stop lamps remain on with the pedal released. | Compare pedal return, brake input, and the actual lamp-output path. | The shared pattern alone does not confirm the switch is defective. |
| Only ordinary tail lamps illuminate during a timed lighting feature. | Confirm the intended lighting behavior in the vehicle’s owner instructions. | Rear illumination is not automatically persistent brake-lamp activation. |
| A pedal-area contact pad appears broken on an applicable design. | Inspect the correct stopper, switch relationship, and safe pedal movement. | An improvised spacer is not a suitable permanent driving repair. |
| One lamp behaves differently near an aftermarket wiring connection. | Accessory history and circuit testing can help isolate the unwanted power path. | Proximity to an accessory does not by itself prove responsibility. |
| The battery becomes discharged after lamps stayed on while parked. | Address the unwanted lighting load and assess battery condition appropriately. | Charging or replacing the battery alone does not repair the lamp fault. |
| The shifter also refuses Park release when brake signals are abnormal. | Shared brake-input information may be relevant to separate interlock testing. | Two symptoms do not prove one switch explains both failures. |
Why brake lights stay on: pedal return, wiring, and controls
A pedal that does not return fully can keep the brake signal active even if the switch itself works. An obstruction, displaced floor mat, mechanical binding, or another pedal-related issue may require attention. If the pedal feels abnormal, the concern extends beyond battery drain. Related brake-service concerns should be described separately from the lamp fault. Secure the vehicle and avoid driving until safe pedal operation has been established.
Electrical faults can supply power where it should not remain present. Damaged wiring, a short, connector trouble, a relay fault on applicable designs, or a control-module issue may be involved. Aftermarket trailer wiring, alarms, or lighting modifications also deserve disclosure. A recent installation can guide the inspection without proving that the accessory caused the problem.
On a modern vehicle, the switch signal may be interpreted by a module before the lamps are commanded. A technician may need to compare physical pedal position, scan-tool brake-switch data, and the actual lamp output. A lamp that stays on with a correctly changing switch input suggests a different path from one that stays on because the input never reports release.
Why the battery and driving risks matter
Stop lamps consume electrical power while illuminated. How quickly that affects starting depends on the lamp design, battery condition, temperature, and how long the car sits. A vehicle that would otherwise start normally can be left with a discharged battery. Charging or replacing the battery without correcting the lamp fault may simply set up another no-start event.
There is also a signaling problem. Brake lamps that remain steadily bright can reduce the distinction between cruising and braking for following traffic. Conversely, pulling a fuse or unplugging lamps can leave the car with no functioning brake signal. Making the lights go out is not equivalent to making the vehicle roadworthy.
If you find persistent stop-lamp illumination, contact the shop promptly and discuss safe handling and transport. If the battery has already discharged, mention both symptoms. A temporary parked-vehicle power-management step may be appropriate under vehicle-specific professional guidance, but it should not become permission to drive with a disconnected switch, removed fuse, or disabled lights.
Why replacing a bulb may not fix a stuck-on lamp
A brake bulb that fails to illuminate and a stop lamp that remains illuminated are different complaints. A bulb change may restore a burned-out light, but persistent illumination raises a question about the signal or power that keeps the lamp on. A brighter new bulb can leave the same underlying condition in place. Describe the actual behavior before requesting a specific replacement.
There are exceptions that require inspecting the lamp assembly and its connections. A recently installed bulb, damaged socket, incorrect component, or lighting modification can provide a useful lead when a rear-light function behaves unexpectedly. That is especially relevant if only one assembly acts differently. The technician should check the correct application and circuit behavior rather than assume every stuck-on light begins at the brake pedal.
LED lamp assemblies introduce another reason to avoid a universal bulb-replacement instruction. Depending on the vehicle, the serviceable item may be a bulb, a circuit component, or a larger assembly. Parts selection should follow the identified design and fault. An expensive lamp assembly is not justified merely because the light is LED, just as a cheap bulb is not a complete answer to a command that remains active.
Bring the packaging or invoice if bulbs or lamps were changed shortly before the complaint. Mention whether the rear lights, center stop lamp, turn signals, or parking lights changed behavior together. Keep those observations separate from guesses about the cause. A clear sequence helps the shop decide whether to begin with an individual assembly, an accessory connection, or the shared brake-input and lamp-control path.
Useful observations before an electrical inspection
Record whether the problem happens every time you park or only intermittently. Note whether it began after battery work, pedal work, a collision repair, water exposure, or installation of an accessory. Photograph the illuminated lamps and any loose pedal-area fragments. Keep the vehicle stationary; a video made while driving adds risk without improving the information needed.
Describe what the pedal feels like and whether a safe press-and-release observation changes the lamps. Tell the shop if the shifter also refuses to leave Park, cruise control behaves unusually, or another warning has appeared. Those systems can use brake-pedal information, but shared timing does not prove a single switch caused every symptom.
Do not clear codes or disconnect multiple connectors before the appointment. Changes can erase useful evidence or introduce new faults. If a roadside provider performed a temporary action, record exactly what was done so the technician can restore normal configuration before testing. Written details are particularly important when someone removed a fuse to protect the battery while the car was parked.
How the shop can isolate the fault
The technician first confirms which lamps stay on and how they respond to pedal operation. The inspection may include the pedal stopper, switch mounting, pedal return, connectors, and modifications. If a broken contact pad is visible, the switch and surrounding assembly still need evaluation; the missing pad should not be assumed to be the only issue without checking proper operation.
Electrical testing follows the circuit design. A shop may check power feeds, switch states, grounds, control commands, and continuity where appropriate. On module-controlled systems, scan data can help distinguish an incorrect input from a lamp-output fault. Tests should identify the circuit condition that keeps the lamps energized rather than rely on replacing the most familiar part.
Vehicle-specific recalls or service information may be relevant. A manufacturer campaign applies only to the identified vehicles and conditions; it is not proof that every car with illuminated stop lamps has the same defect. Check recall status by VIN through NHTSA’s recall lookup or the manufacturer. Ask whether a relevant campaign affects the repair path for your particular vehicle.
Intermittent brake lights: what to record without guessing
An intermittent complaint can be harder to verify than lamps that remain on continuously. The lights may behave normally when the vehicle reaches the shop, leaving no obvious symptom during the first inspection. That does not make the original observation irrelevant. It means the technician benefits from a clear record of the conditions already associated with the event.
Note whether the lights remained on immediately after shutdown or appeared later, and how long they stayed illuminated. Record whether all stop lamps were involved and whether any ordinary timed lighting feature was active. If you have a safe photograph from when the symptom occurred, share it. Do not leave the car unsecured or position someone in traffic to obtain a better view.
Describe the weather, recent water exposure, accessory use, and any pedal-area work when they are relevant. An association with rain or a recent installation can guide an inspection, but it is not proof of a particular electrical defect. The shop should explain how the observed pattern relates to the circuit evidence. Avoid replacing parts solely because an online account mentions similar weather or the same make.
If the symptom has already disappeared, resist changing switch adjustment or disconnecting random plugs in an attempt to make it return. Those actions can add a second fault and change the original conditions. Tell the technician which temporary actions were already taken, including any work by a roadside provider, so the vehicle can be assessed in its intended configuration.
Ask what can be established if the lamps operate normally during the visit. A shop may be able to identify a damaged stopper, loose mounting, connector issue, or relevant stored information even when the lamp is not currently stuck on. It may also need further evidence before confirming the cause. A written account of what was checked and what remains uncertain makes the next step clearer than another unsupported switch replacement.
Specific patterns that change the inspection
All stop lamps remain bright after release
This pattern suggests investigating a common brake signal or shared control path, but it does not settle which component is responsible. A switch, contact pad, pedal-return condition, circuit fault, or electronic command can all be relevant depending on the design. Tail-light operation should already have been separated from the stop-lamp complaint.
A useful diagnostic explanation compares physical pedal release with the electrical input and lamp output. If the input continues to indicate braking, the shop should explain why. If the input reports release but the lamps remain on, the investigation should follow the output path rather than assume the same switch failure.
Plastic fragments appear near the pedal
Fragments can be consistent with a broken pedal contact pad on an applicable design. Save them and photograph where they were found while the car is secured. They are an inspection lead, not permission to install an improvised object or adjust a switch by eye.
The shop should confirm the correct pad, switch relationship, and pedal return. It should also check whether the switch was damaged or incorrectly adjusted. A repair that simply extinguishes the lamps once is incomplete if the pedal contact or lamp timing remains wrong through normal movement.
The lamps go out when the pedal is lifted
A relationship with pedal position may guide attention toward return, contact, or adjustment, but it does not make a hand-held pedal a safe solution. Do not tie the pedal upward or place an object beneath it. Correct travel and release are part of safe braking operation.
Report the observation if it occurred during a safe stationary check. The technician should determine whether the pedal returns as designed and whether the switch recognizes that state. If binding or obstruction is present, the repair must restore the mechanical function as well as the electrical lamp response.
Only a lamp near trailer wiring remains lit
Accessory wiring history is particularly useful when the pattern differs from the normal stop-lamp circuit. An adapter, connection, corrosion, or unintended current path may need evaluation. However, a trailer connection near the lamp is not conclusive proof that it caused the fault.
Provide the installation details and whether the behavior changes when the accessory is ordinarily disconnected. Avoid cutting wires or disconnecting random connectors. A shop can examine the circuit and separate a vehicle-side issue from accessory wiring while restoring the normal lamp functions required for safe driving.
A no-start follows the lighting complaint
Persistent illumination can contribute to battery discharge, but the battery’s underlying condition may also matter. Describe how long the lamps remained on and whether the vehicle had previous starting trouble. Charging the battery without correcting the lamp fault can leave the same drain in place.
The estimate should separate restoration of correct lamp operation from battery assessment. A discharged battery is not automatically a failed battery, and a new battery is not a lighting repair. The shop should explain the results of appropriate battery evaluation after the source of unwanted illumination is addressed.
A recall article resembles the symptom
A similar published recall can be worth checking by VIN, especially when it describes a pedal stopper or switch. Its applicability depends on the vehicle, production range, and campaign status. A broad symptom match is not proof of eligibility or a guarantee that the campaign explains the current fault.
Bring the recall information to the shop or manufacturer contact. The technician still needs to inspect actual lamp and pedal behavior. Ask the manufacturer whether any open campaign applies to your VIN and how an eligible repair would be arranged. A similar symptom alone does not establish that campaign work is the solution.
Questions that make the repair explanation clearer
Ask the technician to describe what the pedal, input signal, and lamps each do. These are connected stages, but they can disagree. A fully released pedal with a signal that still reports braking differs from a correct input with lamps that remain energized. A useful report identifies where the expected sequence fails rather than simply names the familiar brake-light switch.
If a pedal stopper is missing, ask whether the switch mounting and pedal return were also checked. The correct pad should restore the intended contact on an applicable design. It should not compensate for a binding pedal, incorrect adjustment, or damaged switch. An improvised spacer is especially unsuitable because it can change travel or contact timing without meeting the vehicle’s requirements.
When the switch has multiple circuits, ask how its outputs were verified. Stop-lamp operation and information used by other systems may not share exactly the same electrical path. Correctly working lamps therefore do not automatically establish that every brake input is right. The reverse is also true: a scan-tool brake state does not necessarily prove the lamps receive and respond to the command correctly.
Accessory connections deserve a specific explanation when implicated. A trailer adapter, alarm, or modified lighting circuit may create a fault, but proximity is not evidence. The shop should identify the damaged connection, inappropriate path, or measured behavior that supports repair. Cutting out an accessory without understanding the circuit can introduce more problems and may not correct the original illumination.
If battery discharge followed the lamp problem, review the two decisions separately. Restoring correct stop-lamp behavior addresses the unwanted load. Battery testing after appropriate charging helps assess whether the battery remains suitable. A new battery can mask a drain briefly, while a repaired lamp circuit cannot guarantee a previously weakened battery is healthy. Ask how the estimate distinguishes those conditions.
Discuss how the vehicle will reach the shop. Brake lamps that remain bright can compromise the braking signal, and disconnected lamps remove that signal. Do not assume either state is acceptable for a short drive. Tell the Service Team about pedal abnormalities as well as illumination. A pedal that does not return correctly requires consideration of braking function, not merely electrical convenience.
After repair, the lamps should respond correctly to a released and pressed pedal under the relevant ignition conditions. The shop should also check associated functions where the repaired input is used. Switch setup or calibration must follow the applicable procedure. A single photograph of dark lamps does not establish reliable operation; the system needs to repeat the intended response without a bypass or temporary obstruction.
Keep the repair findings, any recall information, and the battery assessment. If the lamps stay on again, record which lights are involved and whether the pedal behavior changed. Avoid adjusting the new switch or adding another spacer before the follow-up. An unchanged configuration lets the shop compare the current input and output behavior with what it verified after the earlier repair.
Planning a brake-light inspection in Raleigh
When contacting Creech Import Repair, describe the complaint as stop lamps that remain illuminated with the pedal released after the car is switched off. Give the make, model, year, and whether the center lamp is also on. Mention pedal abnormalities, any starting difficulty, and recent work. These details help the Service Team understand the concern before arranging a visit to the Raleigh shop.
Discuss transportation when the braking signal is unreliable. Following drivers need a clear change in the stop lamps when you brake, and removing that signal to preserve the battery is not a driving repair. If the pedal itself does not return normally or braking feels different, emphasize that information immediately. Ask how to bring the vehicle in while preserving safety rather than assume a short journey is harmless.
If the vehicle will remain parked before the appointment, ask for guidance appropriate to that specific electrical system. Battery management can differ across vehicles, particularly where connected systems or stored settings are involved. This guide does not provide a universal fuse-removal or battery-disconnection procedure. Any professional temporary action should be documented and reversed as needed for diagnosis and proper operation.
Bring previous repair invoices and accessory installation information. Include switch or lamp replacements, trailer wiring changes, battery service, and any recall findings. A part fitted recently can still be incorrect, misadjusted, or unrelated to the present problem. The history allows the shop to compare the reported behavior with what was repaired without assuming the newest component must be good or must be at fault.
Before authorizing work, ask what the initial inspection covers and how additional findings will be communicated. Diagnosis, a straightforward stopper replacement, wiring access, and electronic-control investigation can have different scopes. The estimate should follow the demonstrated fault. A clear agreement about inspection and follow-up gives you a useful basis for deciding on the repair instead of choosing parts from a symptom list.
Online appointment submissions require confirmation from Creech’s Service Team. Include the lighting concern and transport needs in the request, and arrange service at the shop during its scheduled hours. Accurate booking information helps separate this visit from routine battery service, a general electrical concern, or a brake-friction inspection.
Repair scope and post-repair checks
Repair may involve a correct pedal stopper, switch installation, a wiring repair, or investigation of electronic control. Cost depends on access, parts, and diagnostic time. Ask which observation or test supports the estimate. A reasonable explanation should connect the replacement or correction to the actual behavior rather than describing a part that sometimes causes similar symptoms.
Verification should include lamps off with the pedal released, appropriate illumination when pressed, and consistent behavior through repeated normal operation. If the brake switch also supplies other systems, the repair may require checking those functions and clearing or confirming associated fault information. The technician should use the vehicle’s specifications for adjustment and calibration where applicable.
If the battery discharged, its condition should be considered separately after the lighting fault is repaired. Recharging may be sufficient for a healthy battery; a weakened battery may need testing and a different decision. Neither outcome changes the need to fix the stop-lamp fault. Tell Creech’s Service Team about both the illumination problem and any subsequent starting difficulty when arranging your Raleigh shop visit.
Frequently asked questions
Can brake lights work with the key removed?
Yes, on many vehicles the stop-lamp circuit can operate without the ignition being on. That makes a switch, pedal, or circuit fault capable of leaving the lamps illuminated after parking. Check the owner’s manual for the specific lighting behavior, but do not assume key removal rules out an electrical problem.
Can a broken plastic pedal pad cause this?
On some designs, yes. A missing stopper can prevent the switch from recognizing the released pedal. Other vehicles use different arrangements. Save any fallen fragments and arrange inspection; do not use a coin, tape, glue, or an improvised spacer as a driving repair that could affect pedal operation. Correct contact and pedal travel must both be restored afterward.
Will it drain my battery overnight?
Persistent lamps can discharge a battery, but the timing depends on battery health, lamp power, temperature, and duration. There is no reliable universal overnight estimate. Address the lighting fault promptly and mention any no-start event. Battery charging alone will not prevent recurrence if the lamps continue to stay on. Preserve the timing so battery assessment has useful context later.
Can I pull the fuse and drive to the shop?
Do not drive with disabled brake lamps. A fuse may also serve additional functions, and removing it does not diagnose the original fault. Contact the shop for vehicle-specific guidance about safe handling and transport. Any temporary measure used while parked must not be treated as a roadworthy repair. Lamp function must be restored before the car returns to driving.
Is the brake switch always responsible?
No. The pedal stop, pedal return, wiring, accessory connections, relays on applicable systems, or electronic controls may also be involved. A shop can compare pedal position, switch input, and lamp output. That distinction helps select the right repair and prevents replacing a working switch while another circuit fault remains. Ask which stage of the signal path was confirmed faulty.
Why does only one rear lamp stay on?
A single-lamp pattern can point toward a different issue than all stop lamps staying illuminated, including lamp assemblies, wiring, or aftermarket connections. It still needs testing. Confirm which light function is active and whether the center stop lamp responds normally; those observations help the technician interpret the complaint. A single-lamp pattern deserves its own circuit and assembly checks.
Could this affect shifting out of Park?
Some shift-interlock systems use brake-pedal information, so a related signal fault can affect both functions. However, shifter problems also have other causes. Report the two symptoms together without assuming they share one failed part. Do not bypass an interlock or disable brake lights to obtain a temporary driving workaround. Each affected function should be verified after the identified repair.
Should I check for a recall?
Yes, VIN-specific recall information can be useful. A campaign for one make, model year, or production range does not apply to every vehicle with the symptom. Use NHTSA’s recall lookup or the manufacturer and share any result with the shop. Diagnosis still needs to match your car’s actual condition. Keep campaign eligibility separate from the current observed electrical condition.
Arrange an inspection at Creech Import Repair
Explain the symptoms and ask about an inspection at our Raleigh repair shop. Call 919-872-1999 or request an appointment online. The shop is at 1818 St. Albans Dr #106, Raleigh, NC 27609. Hours are Monday–Friday, 7:30 am–5:30 pm. Online requests become confirmed appointments only after the Service Team verifies them.
For related service information, see electrical-system service. If the vehicle cannot be operated safely, arrange appropriate transportation rather than driving it to the shop.
Technical references
Manufacturer information applies to the vehicles or components described in each source. Diagnosis, pressure values, repair procedures, and safety instructions must be matched to the vehicle being inspected.
Find Creech Import Service articles useful?
Add this site to your Preferred Sources in Google Search.